WHAT EVEN IS AN OUTDOOR KITCHEN?
In Iowa, we are cooped up half the year. While the weather is pleasant, we want to be outside as much as possible. I get a lot of questions about outdoor kitchen design – what’s needed? How do you plan? To help you get started, I want to teach about the four outdoor kitchen zones.
But first, we need to know what we’re talking about. An outdoor kitchen is a dedicated space to cook and prepare meals while bringing the party outside. Yes, a grill. Yes, a counter. We’ll get to all that.
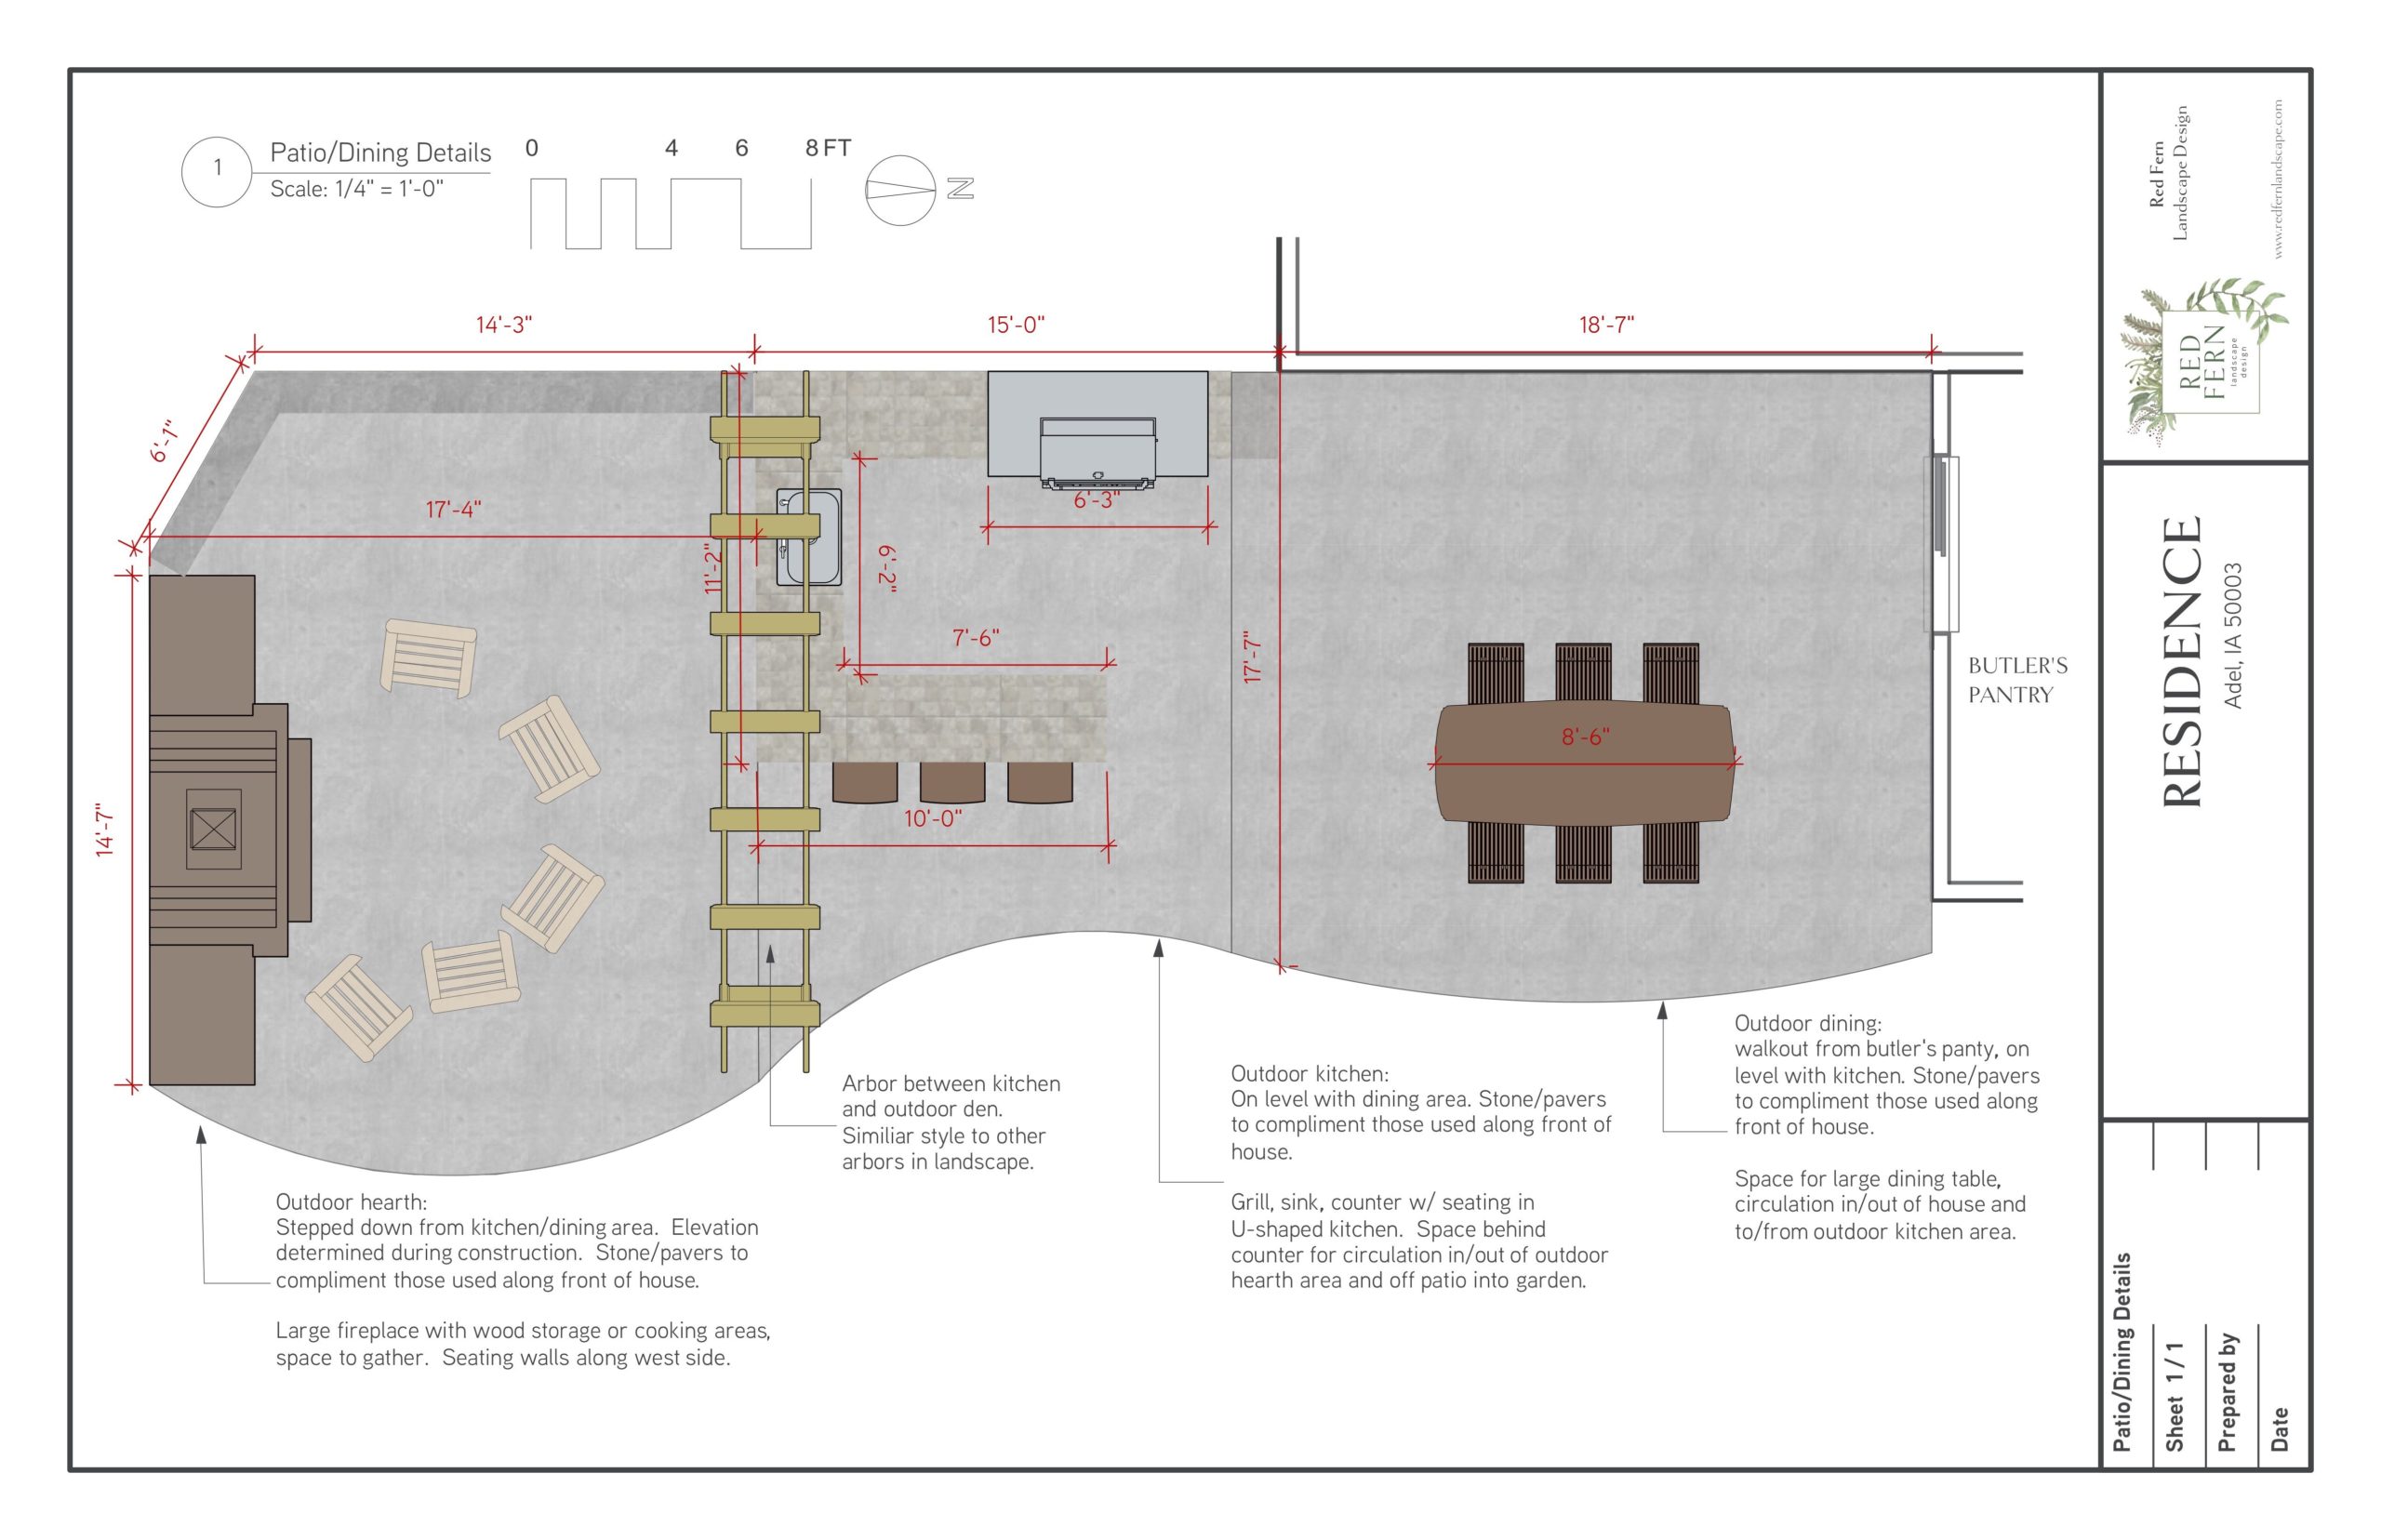
Let’s start by talking about outdoor living spaces in general. The landscape around your house can be thought of as outdoor rooms. You have a front walkway and a landing at your door? That’s your outdoor entry. You have a secluded, shady spot with a hammock? That’s your outdoor bedroom. A firepit with comfy chairs around it? That’s your outdoor den. Are you with me?
An outdoor kitchen would serve the same purposes as the indoor kitchen: a place to prepare food, to eat, and to hang out and entertain. Everyone is into spending time outside entertaining, and just like inside – the party always stays in the kitchen! Entertaining requires food (because food = love), so get set up for dealing with it outside!
To create an outdoor kitchen design, think of your outdoor kitchen the same way you’d think of your indoor kitchen. What do you like to cook or prepare indoors that would be better outside when it’s nice? For me, I’m thinking about drinks and apps, (obv!) while my husband is thinking about smoking and grilling meat. Knowing the four outdoor kitchen zones can help you plan.

THE FOUR ZONES
Whether you are into more complex outdoor cooking or just a place to store cold beers while you grill, every kitchen has FOUR ZONES. Knowing these helps you plan the perfect outdoor kitchen space:
- hot = cooking areas – think grills, griddles, and smokers
- cold = refrigerators and freezers
- wet = sinks and bar areas
- dry = prep stations, countertops and storage
Considering how you’re going to handle each of these zones will make planing your outdoor kitchen a breeze. From Pinterest DIY to custom installation, every kitchen in every budget should consider how to handle these zones. Let’s talk about each one.

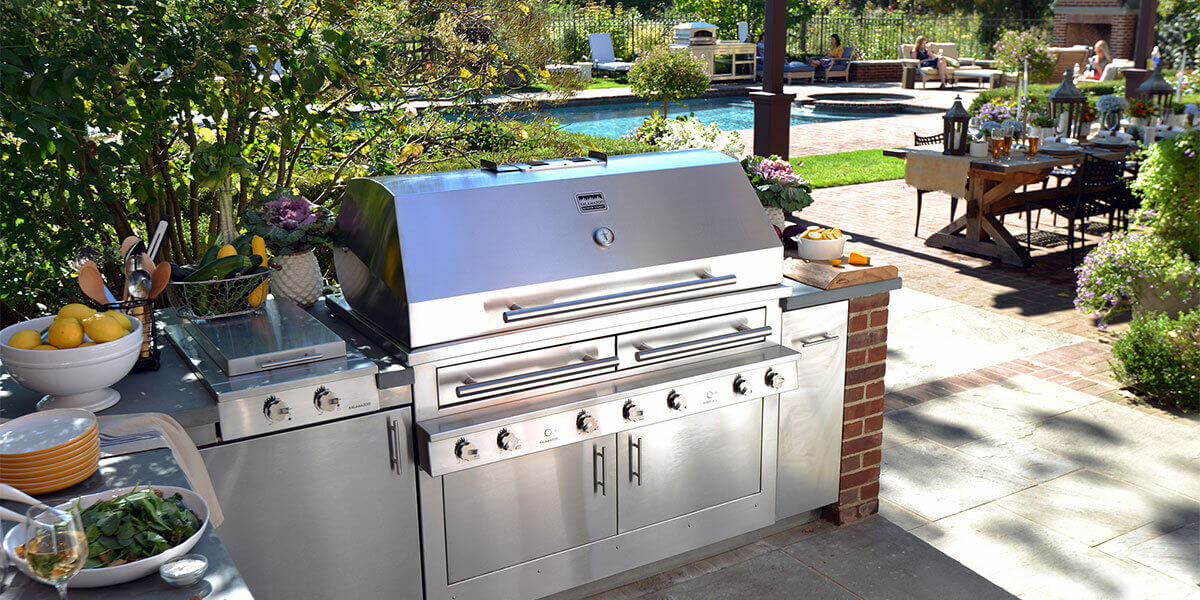
Mariani Landscapes
THE HOT ZONE
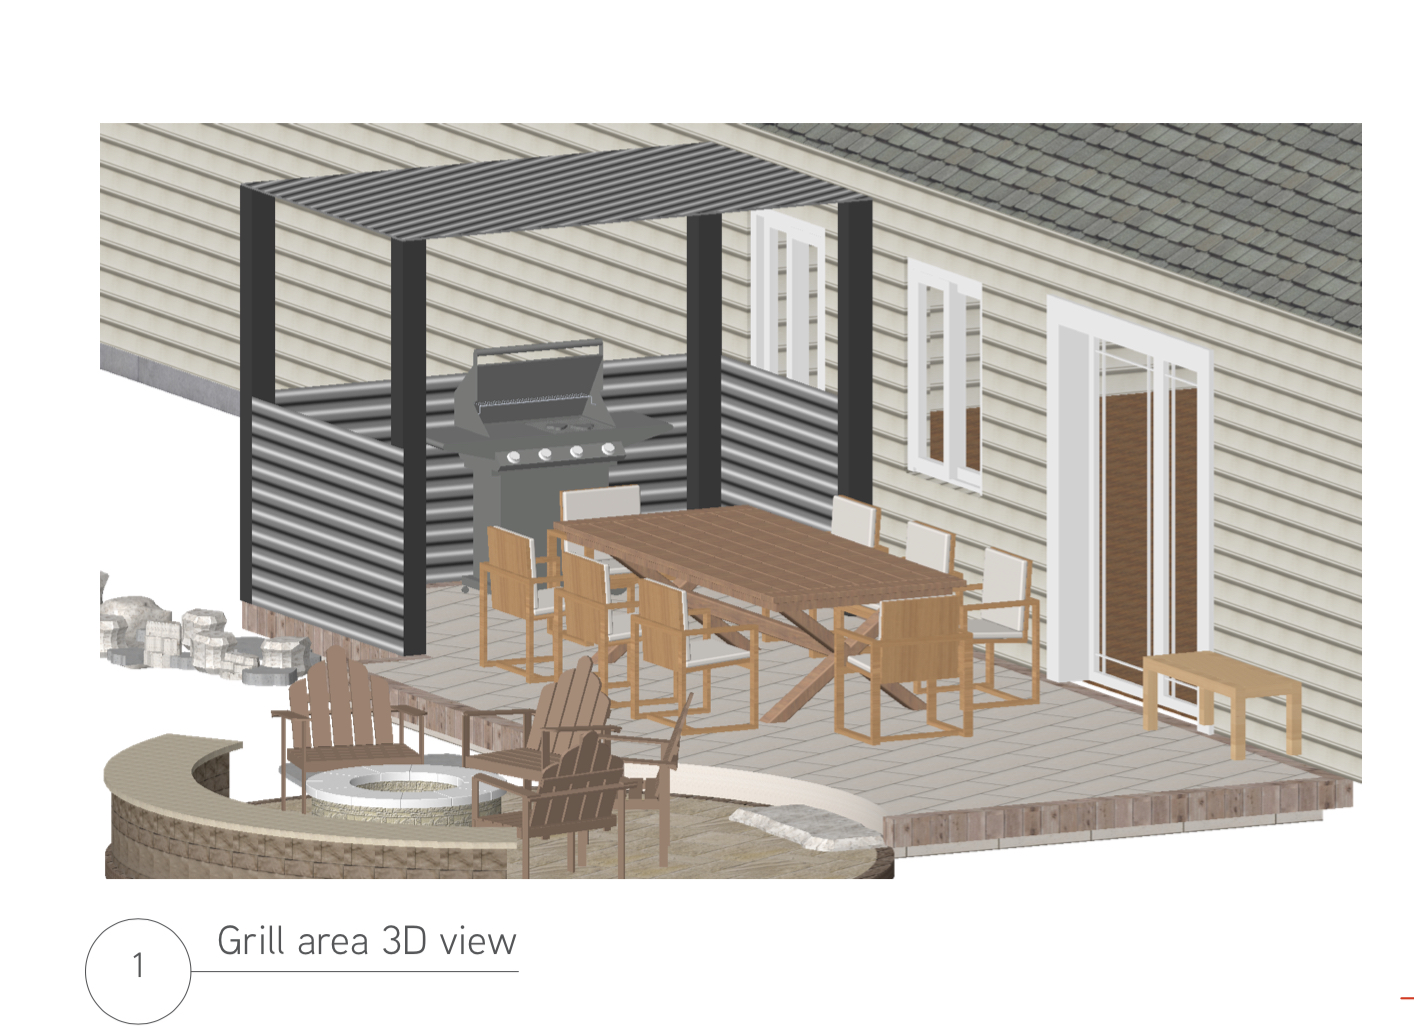
Everyone knows the first zone. The hot zone starts with the grill. You can build your grill into the cabinetry or leave it freestanding. If it’s going to be freestanding, definitely think through where it gets stored compared to where it gets used.
Our grill stays in the same place, but our smoker is stored in the barn. We need space for the smoker in our kitchen area when we bring it out, and we’ve planned the size and layout accordingly. Thinking about all this ahead of time can save you costly changes later. I have had two clients recently add more level surface around their existing patios because there really wasn’t room for the grill to get stored and pulled out.
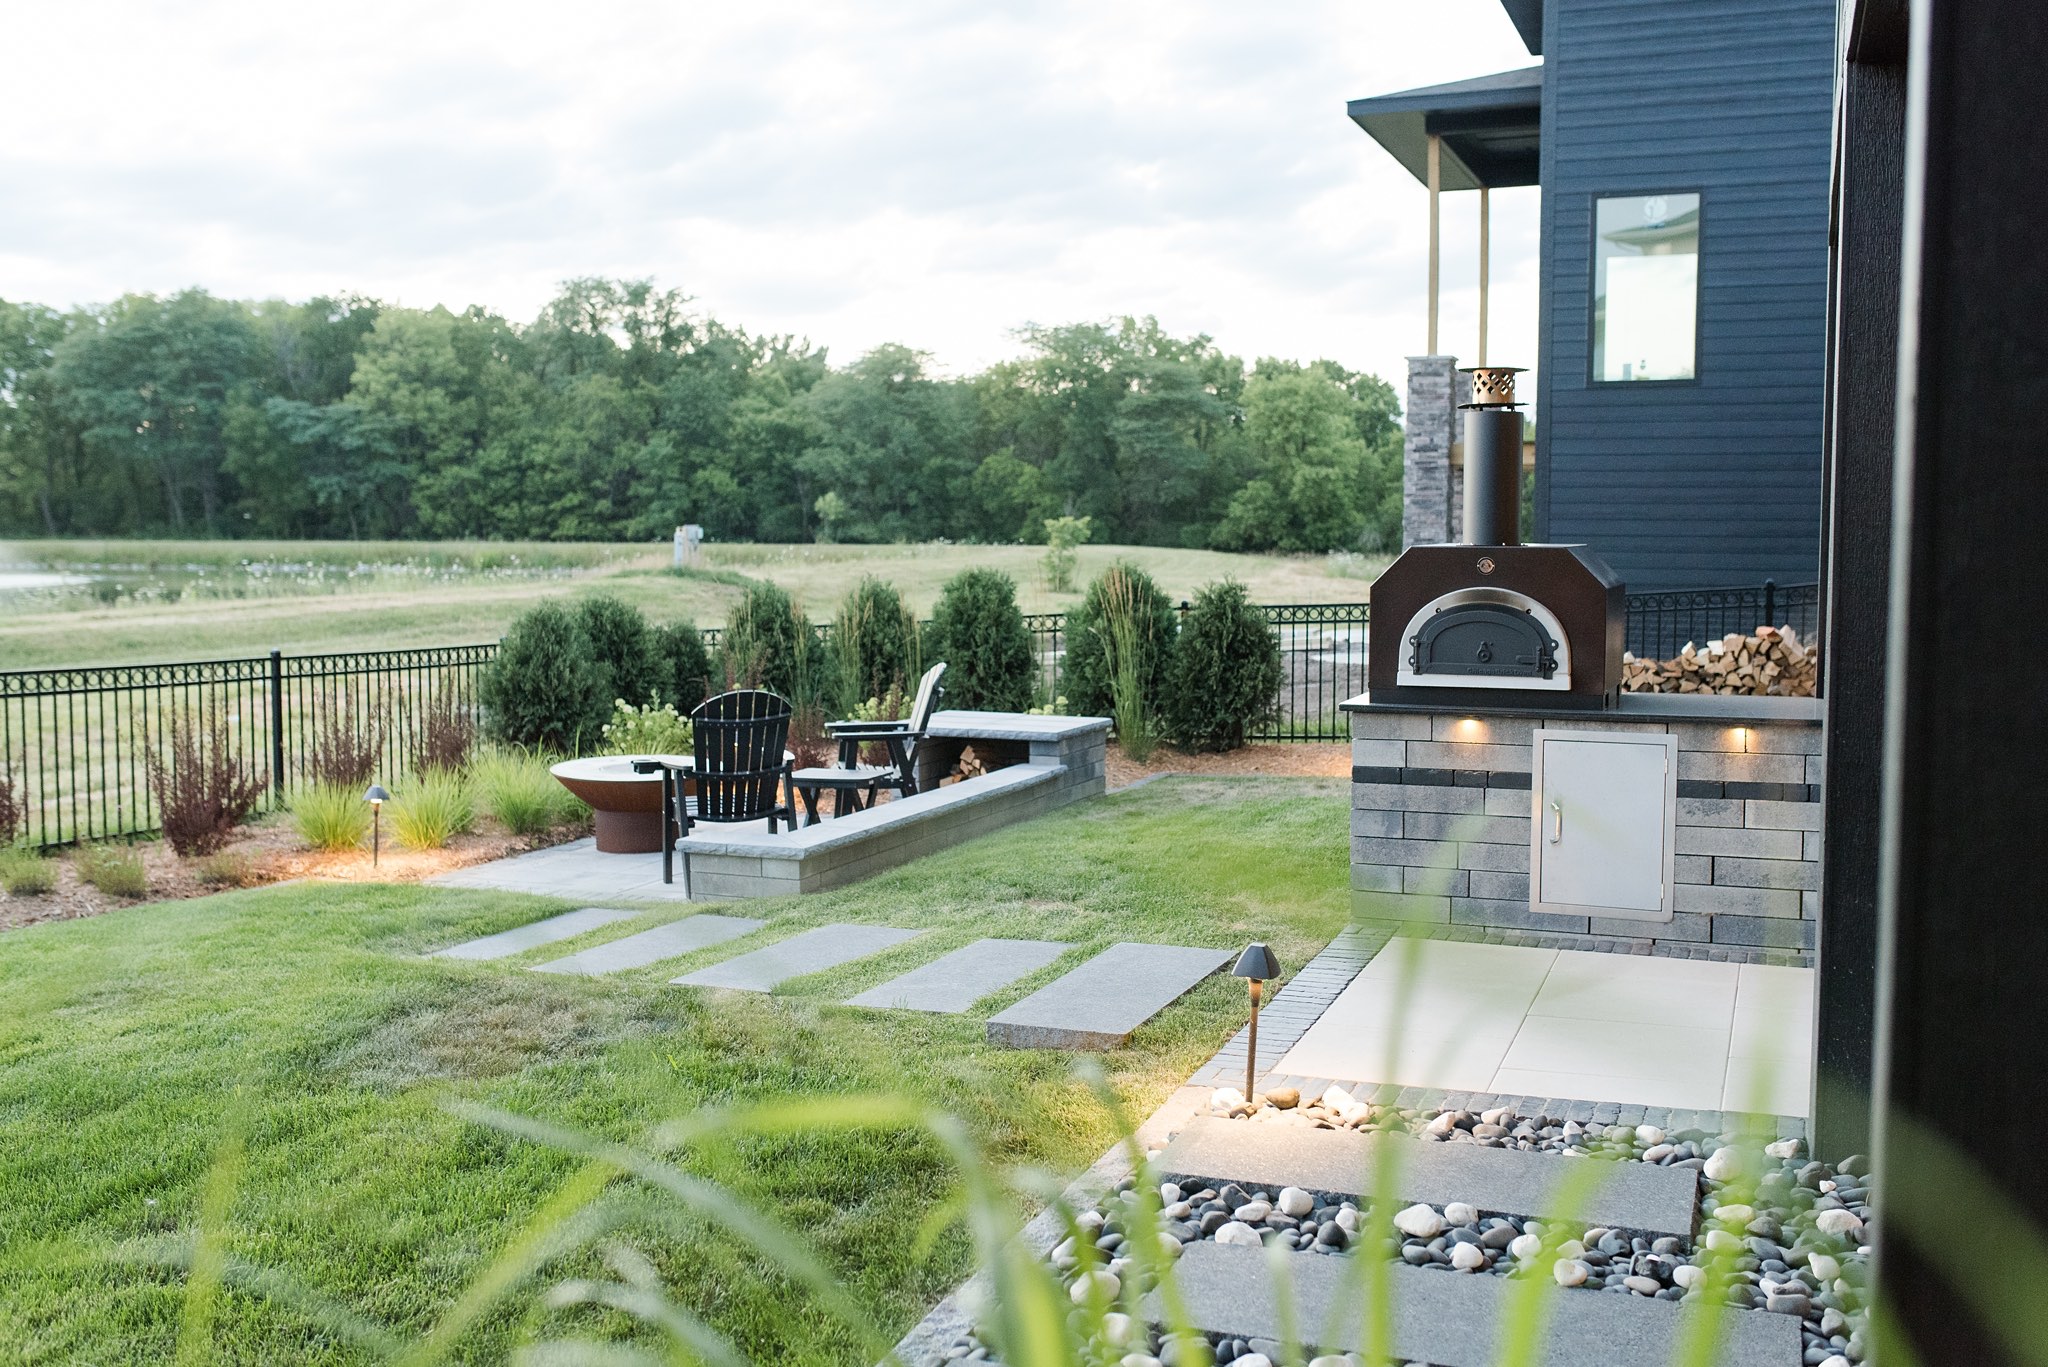
However, you can use more than just a grill for outside cooking. Think through your cooking options. Are you into smoking meats? What about a pizza oven? A side burner? All these options come with options of how the heat is applied – gas, wood, charcoal, pellets. Are you a charcoal snob? With charcoal or wood, you’ll need to consider where your fuel is stored. If you want the convenience of a gas grill, decide if you’re running a gas line or just keeping refills around.
Your budget and the space you have available can limit what you add in the hot zone.

THE COLD ZONE
Keeping things cold in the outdoor kitchen is a must. A low-cost, DIY option might be space for a cooler, while more elaborate kitchens might have multiple built-in, full-size fridges.
If you’re bringing the party outside, you have to be able to bring on the drinks. From keeping Cokes and beers cold to prepping craft cocktails, you have to consider how to get beverages to everyone. At the very least, your kitchen needs to be able to handle drinks and ice. Maybe a separate drink fridge is the best fit for your kitchen. Ice machines, keg tappers, wine coolers – you can have it all.
Depending on how much you’re cooking outside, the cold zone can make a big difference. Limiting trips back inside is the biggest convenience that the outdoor cold zone brings. Having everything stored and staged in the fridge keeps the house clean and even saves on energy since you’re not opening the door a million times.
A pro tip from the BBQ Guys I appreciated is to keep the cold zone separated from the hot zone. This is super logical, since both appliances put off heat. The fridge will have to work harder to keep cool inside, causing it to fail sooner.

THE WET ZONE
Prep and clean up require water. Adding a sink to your outdoor kitchen is super convenient, and changes everything about how you use an outdoor space. If there was one thing I’d recommend to add into your budget for an outdoor kitchen design, it would be at least a cold water line out to the kitchen. Consider the counter area around the sink also – you’ll need space that will get used along with the sink.
Your sink can drain a variety of ways. Waste water can connect to the home’s waste lines. You can take the easy route with a bucket under the sink. If you’re careful with what goes down the drain, collect the kitchen waste water and re-use it in the garden.
THE DRY ZONE
The dry zone supports any of the other three zones. This area is counter space used for food preparation and serving, and cabinets for storage. Countertops should reflect what you plan on doing in the kitchen- will you be prepping food here or inside? Plan enough space to allow for the food prep you’ll do outdoors. Definitely plan space for serving- apps and drinks are always welcome around the kitchen. You’ll need space on your surfaces for people to lean and hang out while you cook, set a drink down, and keep your materials at hand.
Kalamazoo Gourmet has great recommendations for counterspace to leave for each zone. They suggest around 24″ on either side of a grill or pizza oven, 12″ on either side of a cook top, 18″ on either side of the sink, and 15″ next to or above a fridge.
Storage is another part of the dry zone. Food probably won’t be kept outside because of humidity and animals. However, serving materials like outdoor dishes and glasses, serving platters, and tongs would be great to have right at hand.. Extra propane tanks might be stored out there, or bags of charcoal or pellets. Consider what you want at hand while you work, and what you might keep in the house. Have a plan for trash storage too – any prep work will create waste. Keep a compost container and a lidded trash can nearby.
Allow space for a fire extinguisher in the dry zone. Many grills have one right under the grill itself. If you have multiple cooking areas, keep a fire extinguisher at arm’s reach from every cooking spot.
THE EXTRAS
- Plan for a fan. It gets hot up in the kitchen, so get some air moving!
- Lights are a must. I also think about lights the same as indoors: task lighting, overhead lighting, and ambient light. In your outdoor kitchen, you’ll want to have overhead lighting (maybe from a string of party lights?) task lights over your work spaces (near countertops and check for LED lights to add to your grill) and ambient lighting under counters or around seating areas.
- Speaking of seating, you have to have good places for people to hang out. The party is ALWAYS in the kitchen, and that’s true outside as well. Counter-height bar stools near the prep areas keep people close but not underfoot. A table with chairs nearby makes sense for dining and gives your guests a place to rest while you work.
Think through these four zones when you’re planning out your outdoor kitchen! Just make sure to invite me over once it’s finished.

LIke it
pin it
tweet it
email it